Are you looking to boost your productivity using notion time blocking strategies?
Notion is a powerful tool for maximizing productivity. It can be used for just about everything from note taking to project planning.
I recently started experimenting with using Notion for Time blocking and have been loving it so far.
This guide will show you how you can time block using Notion. You’ll learn how to organize your tasks, manage your time, and increase productivity.
This isn’t just about using a new tool. It’s about changing the way you work so that you can consistently achieve more every day.
Understanding the Concept of Time Blocking
Do you ever find yourself:
- Overwhelmed by a long to-do list and not knowing where to start?
- Easily distracted and struggle to stay focused on one task at a time?
- Staring at your screen with 20 tabs open at the same time?
If any of these sound familiar, then time blocking may be the solution you’ve been looking for.
Time blocking is a productivity technique that involves breaking your day into specific blocks of time dedicated to different tasks or activities.
Instead of working in a haphazard and random manner, jumping from one task to another, time blocking allows you to allocate dedicated time slots for each task, providing structure and clarity to your day.
By designating specific time periods for different activities, you create a schedule that outlines how you’ll spend your day.
This makes it much easier to prioritize tasks and stay focused.

Benefits of Time Blocking
Time blocking has many benefits.
Here are just some of the reasons why you should consider incorporating time blocking into your daily routine:
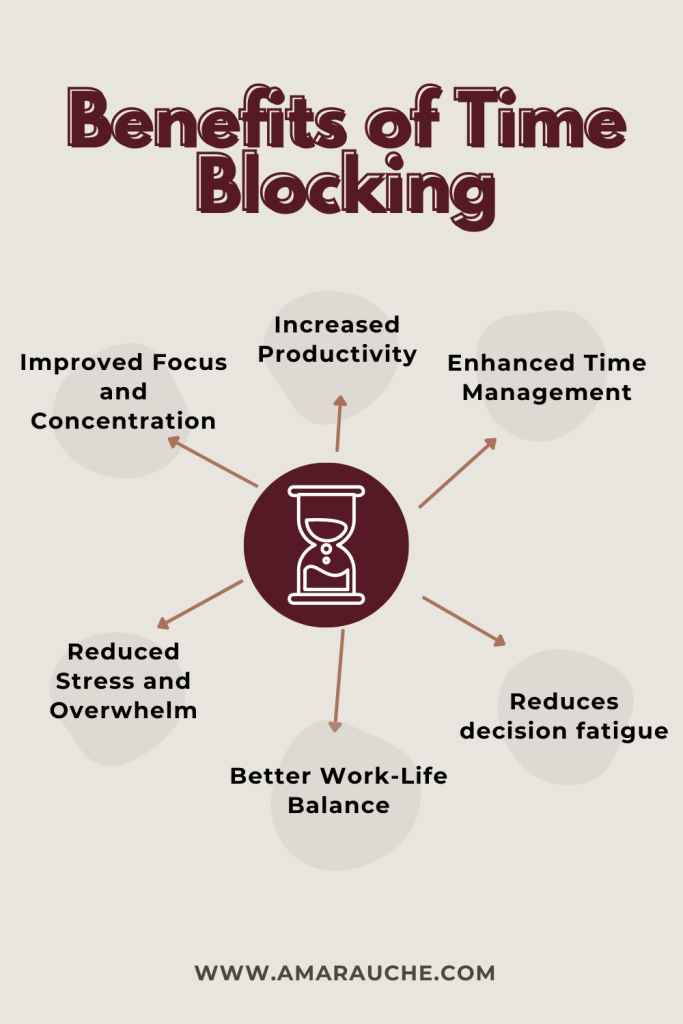
- Improved Focus and Concentration: Time blocking allows you to dedicate uninterrupted periods of time to specific tasks. This reduces distractions and increases your ability to concentrate fully.
- Enhanced Time Management: By planning your day in advance and allocating specific time slots for each activity, you gain better control over your time. This helps you avoid overwhelm and procrastination.
- Reduced Decision Fatigue: When you time block, you make decisions about how to allocate your time in advance. This eliminates the mental burden of constantly deciding what to work on next, freeing up mental energy for the actual tasks at hand.
- Increased Productivity: Time blocking provides a clear structure to your day, ensuring that you stay on track and make progress on your goals. With a well-organized schedule, you’ll be able to accomplish more in less time.
- Better Work-Life Balance: When you time blog, you can designate specific time slots for the different areas in your life such as work, personal activities, and leisure. You can get a birds eye view of all your activities and create a schedule that is more balanced and fulfilling to you.
- Reduced Stress and Overwhelm: When you time block, you create a clear plan for your week. With a clear plan in place, time blocking helps reduce the stress and overwhelm that often come with a busy schedule. By breaking tasks into manageable chunks and allocating dedicated time for each, you’ll feel more in control and less overwhelmed by your workload.
While it takes some time and experimenting to find a time blocking system that works best for you, the benefits are worth it.
Who should use Time Blocking?
I would recommend time blocking for anyone who has to:
- Juggle multiple responsibilities every day
- Struggles with knowing what to do and when to do it
It can be used for, moms, students, business executives. Pretty much anyone can benefit from time blocking if they want to.
How To Start Time Blocking
1. Assess Your Priorities
Before you start time blocking, you’ll need to assess your priorities and determine what tasks are most important to you.
Take a moment to think about your goals, both short-term and long-term. What tasks or activities align with these goals?
By identifying your priorities, you can allocate your time accordingly and ensure that you’re devoting enough time to the things that matter most to you.
2. Break Down Tasks into Time Blocks
Once you have a clear understanding of your priorities, it’s time to break down your tasks into manageable time blocks.
Start by listing all the tasks and activities you need to accomplish throughout the day. Be specific and detailed in your list, as this will help you stay focused and organized.
Next, estimate how much time each task will take.
Remember to be realistic and consider any potential interruptions or distractions.
Once you have the estimated time for each task, allocate specific time blocks for them in your schedule.
3. Allocate Time for Different Activities
When allocating time for different activities, it’s important to consider your energy levels and natural rhythms.
For example, if you’re most productive in the morning, you may want to allocate your most challenging tasks during that time.
Similarly, if you tend to experience an afternoon slump, you can schedule less demanding activities during that period.
Consider categorizing your time blocks based on the type of activity or task. For instance, you can have blocks for focused work, meetings, breaks, and personal time.
When you allocate time for each category ahead of time, you can ensure a more balanced schedule that addresses all aspects of your life.
One thing that you must always remember is that flexibility is key to successful time blocking. Sometimes unexpected tasks or events may disrupt your planned time blocks. In such cases, be prepared to adjust your schedule accordingly and make room for the unexpected.
Having some buffer time between time blocks can also help accommodate any unforeseen circumstances.

Notion Time Blocking
Notion is a versatile productivity tool that can help you better manage your time and stay organized. Whether you’re a student, professional, or just someone looking to improve their productivity, Notion has many features that can be customized to suit your needs.
In this section, I’ll be sharing with you the easiest time blocking method that I’ve found using notion.
I like this method because its simple and doesn’t require you to be technically savvy to figure out how to use it. You can use it even if you’re a beginner on Notion.
I use this simple Notion time block template to plan my week ahead of time, so that I know what I need be doing at any given point in time.
How To Get Started With Notion
If you’re new to Notion, the first thing you’ll need to do is create an account. Notion is a free tool, and you can sign up with your Google account or an email address and password.
Here’s a step-by-step guide on how to set up your Notion account:
- Visit the Notion website at www.notion.so and click on the “Sign Up” button.
- You can sign up with your Google account or enter your email address and create a password.
- Once you’ve signed up, you’ll be prompted to provide some basic information like your name and profile picture. This will help personalize your Notion experience.
- After completing the initial setup, you’ll be taken to your Notion dashboard where you can start creating and organizing your workspace.
Create A New Page For Time Blocking
- Select Workspace: If you already have multiple Notion workspaces, choose the workspace where you want to add a new page.
- Create a Page: On the left-hand sidebar, you’ll see a list of pages or databases in the selected workspace. “+ New” button to create a new page. This button is usually located at the top of the page or in the sidebar, depending on your Notion setup.
- Name Your Page: The page starts of as Untitled, so you can name it anything you would like.
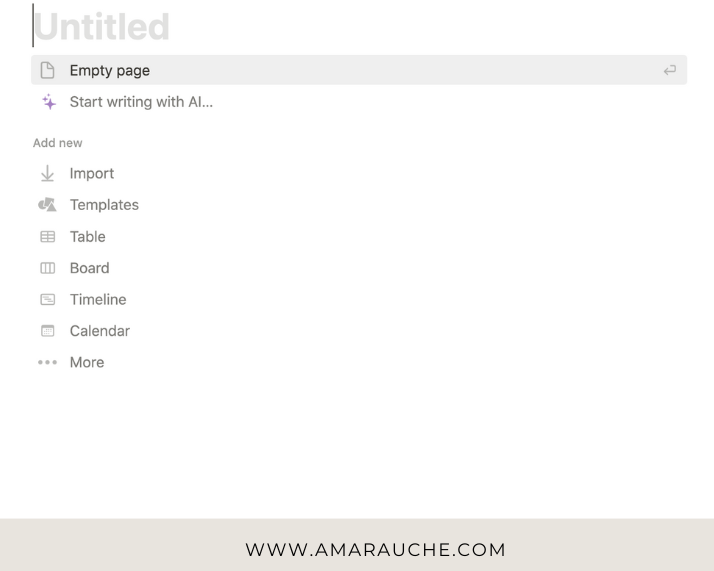
When you open a new page, it will be a blank canvas. Notion will prompt you to choose the type of page you want to create.
You can choose from “Blank,” “Template,” “Database,” “Table,” “Board,” and more.
For the Notion Time blocking template, you can either select the table inline database or the calendar inline database.
Inline Table Database
- Create Inline Table Database. Type / inline to get drop down menu. Select Inline Table Database.
- Create the Columns. By default, your new table will have an “Event” column and a ‘Tags’ column. You’ll need to manually change the names of the columns to the days of the week.
- Define the time slots for your schedule. For example, you could have hourly or half-hourly time slots depending on your preference and the level of detail you need.
- Add tasks: Label each time slot with a specific activity or task that you want to allocate time to.
- Customize the template to fit your needs. You can add additional sections or columns for specific categories of tasks, such as work, personal, or health-related activities.
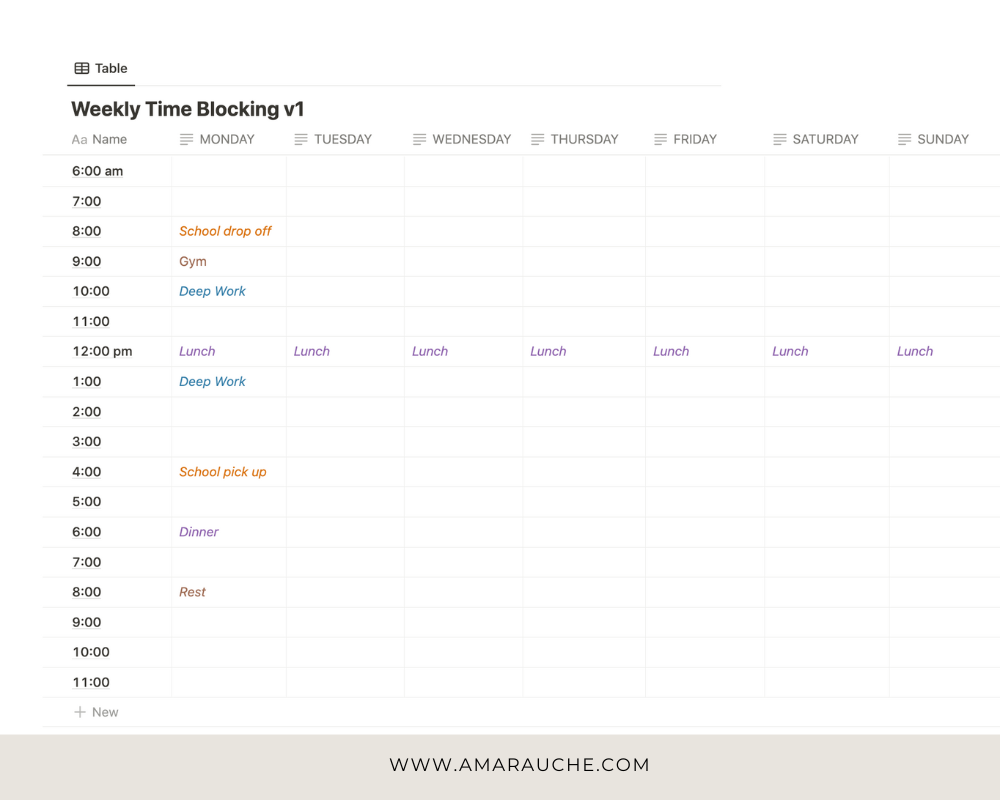
It can be helpful to use color-coding or emoji icons to visually differentiate between different types of activities or to represent their importance or urgency.
Tips for Effective Time Blocking
Time blocking is a powerful productivity technique that can help you stay focused and make the most of your day. However, to truly make the most of time blocking, there are a few tips that can help you maximize its benefits.
1. Set Realistic Timeframes
It isn’t possible to know exactly how long a task will take. But, one of the keys to successful time blocking is setting realistic timeframes for your tasks and activities. It’s important to be honest with yourself about how long things actually take and to avoid overestimating or underestimating the time needed.
By accurately estimating the time required, you can ensure that you allocate enough time for each activity without feeling rushed or overwhelmed.
To set realistic timeframes, start by breaking down your tasks into smaller, manageable chunks. Consider any potential obstacles or distractions that may arise and build in extra time to account for them.
It’s better to overestimate the time needed and finish early than to underestimate and feel stressed or rushed.
2. Avoid Overbooking and Burnout
While time blocking can be a great way to increase productivity, it’s important to avoid overbooking yourself.
It can be tempting to fill every minute of your day with tasks and activities, but this can lead to burnout and decreased effectiveness.
Instead, prioritize your tasks and be selective about what you include in your time blocks.
Remember to schedule breaks and downtime as well.
Taking regular breaks can help you recharge and maintain focus throughout the day. It’s also crucial to listen to your body and mind and recognize when you need rest. By incorporating regular breaks and downtime into your time blocking schedule, you can avoid burnout and maintain a healthy work-life balance.
3. Be Flexible and Adaptable when Time Blocking
While having a structured schedule is the foundation of time blocking, you also need to be flexible and adaptable with your schedule.
Life is unpredictable, and unexpected tasks or events may arise that require your attention. By being flexible and adaptable, you can adjust your schedule as needed without feeling overwhelmed or stressed.
Aim to build in buffer time between tasks to allow for unexpected interruptions or delays.
This buffer time can help you stay on track even if your schedule gets derailed.
Additionally, be open to adjusting your time blocks if necessary. If a task takes longer than anticipated or if something urgent comes up, be willing to shift your schedule to accommodate it.
4. Establish a Routine
Establishing a routine is essential for effective time blocking.
By creating a consistent schedule, you condition your mind to focus on specific tasks during designated time slots. This helps you eliminate distractions and maximize your productivity.
Consider setting aside blocks of time for similar activities, such as answering emails, working on projects, or attending meetings.
By allocating specific time slots for each task, you create a sense of structure that boosts your efficiency and keeps you on track.
5. Track and Review Your Time Blocks
Once you’ve established your time blocks, you need to track and review how you spend your time. Notion provides useful tools that allow you to log and monitor your activities effortlessly.
By keeping a record of the time spent on each task, you can identify patterns in your productivity and make informed decisions about how to optimize your schedule.
Regularly reviewing your time blocks helps you identify areas where you may be wasting time or where adjustments need to be made. This valuable feedback loop ensures that you stay accountable and continuously improve your time management skills.
6. Make Adjustments as Needed
Flexibility is key when it comes to time blocking.
It’s important to be adaptable and willing to make adjustments to your time blocks as needed.
Notion provides a user-friendly interface where you can easily modify your schedule.
If you find that certain tasks consistently take longer than expected or that specific time slots are not optimal for specific activities, don’t hesitate to make necessary changes.
By being open to adjustments, you can refine your time blocking system and ensure that it aligns with your evolving needs and priorities.
Final Thoughts
Time blocking using Notion can be a game-changer for boosting productivity and staying organized.
Go ahead, give it a try, and reap the many benefits of Notion time blocking in your daily life.
Like it? pin to pinterest!
If you liked this post and got some value, it would mean so much to me if you would share it. Doing so helps me to build the blog and to continue creating free content for you all.
Thank you so much for your support!